Soap is simply fascinating to me. Oil, wood ash, water, and some time stirring...and voila... Ok so I am not hardcore enough to have yet used wood ash or animal fat I've saved -my friends eBay and Sam's Club to help me with those needs... regardless of source, I find immense gratification in soap making. Just like making a good pot of soup, making soap is therapeutic to me.
Soap has been made for thousands of years. It's recorded that the Babylonians were using it around 2600 B.C. so it's no new thing. More than likely it's been known WAY longer than that, perhaps when people realized that the fat drippings around their campfire became sudsy after a night's rain. How does that work, you ask? As I mentioned before... wood ash when leached with water, produces a caustic agent (lye) - when mixed with oil or fat, goes through the saponification process which creates soap. Basically, it turns the fat into a salt of a fatty acid. Soap is salt. Yep!
And soap is tricky to make...let me tell you!! It takes a long time to perfect your recipe, to get the ratios **just** right. I ruined quite a few pans and spoons until I learned what didn't rot with lye... I have a few lye burns on my arms from not taking it seriously that it's dangerous (TAKE it seriously!), and I have made a couple batches of runny or rock hard soap. Soap making is a precision art, but once you have your recipe, you're good to go.
 This is just all of the oils melting together
 now I've added the lye/water mixture
it starts to bubble (wear gloves and stand back!) 
 soap starts to bubble and resemble applesauce
 it gets really thick and bubbly
 then it will settle down again
 now it is time to add any essential oils or exfoliants you want
to this batch I have added spices and essential oils. you must quickly pour into molds!
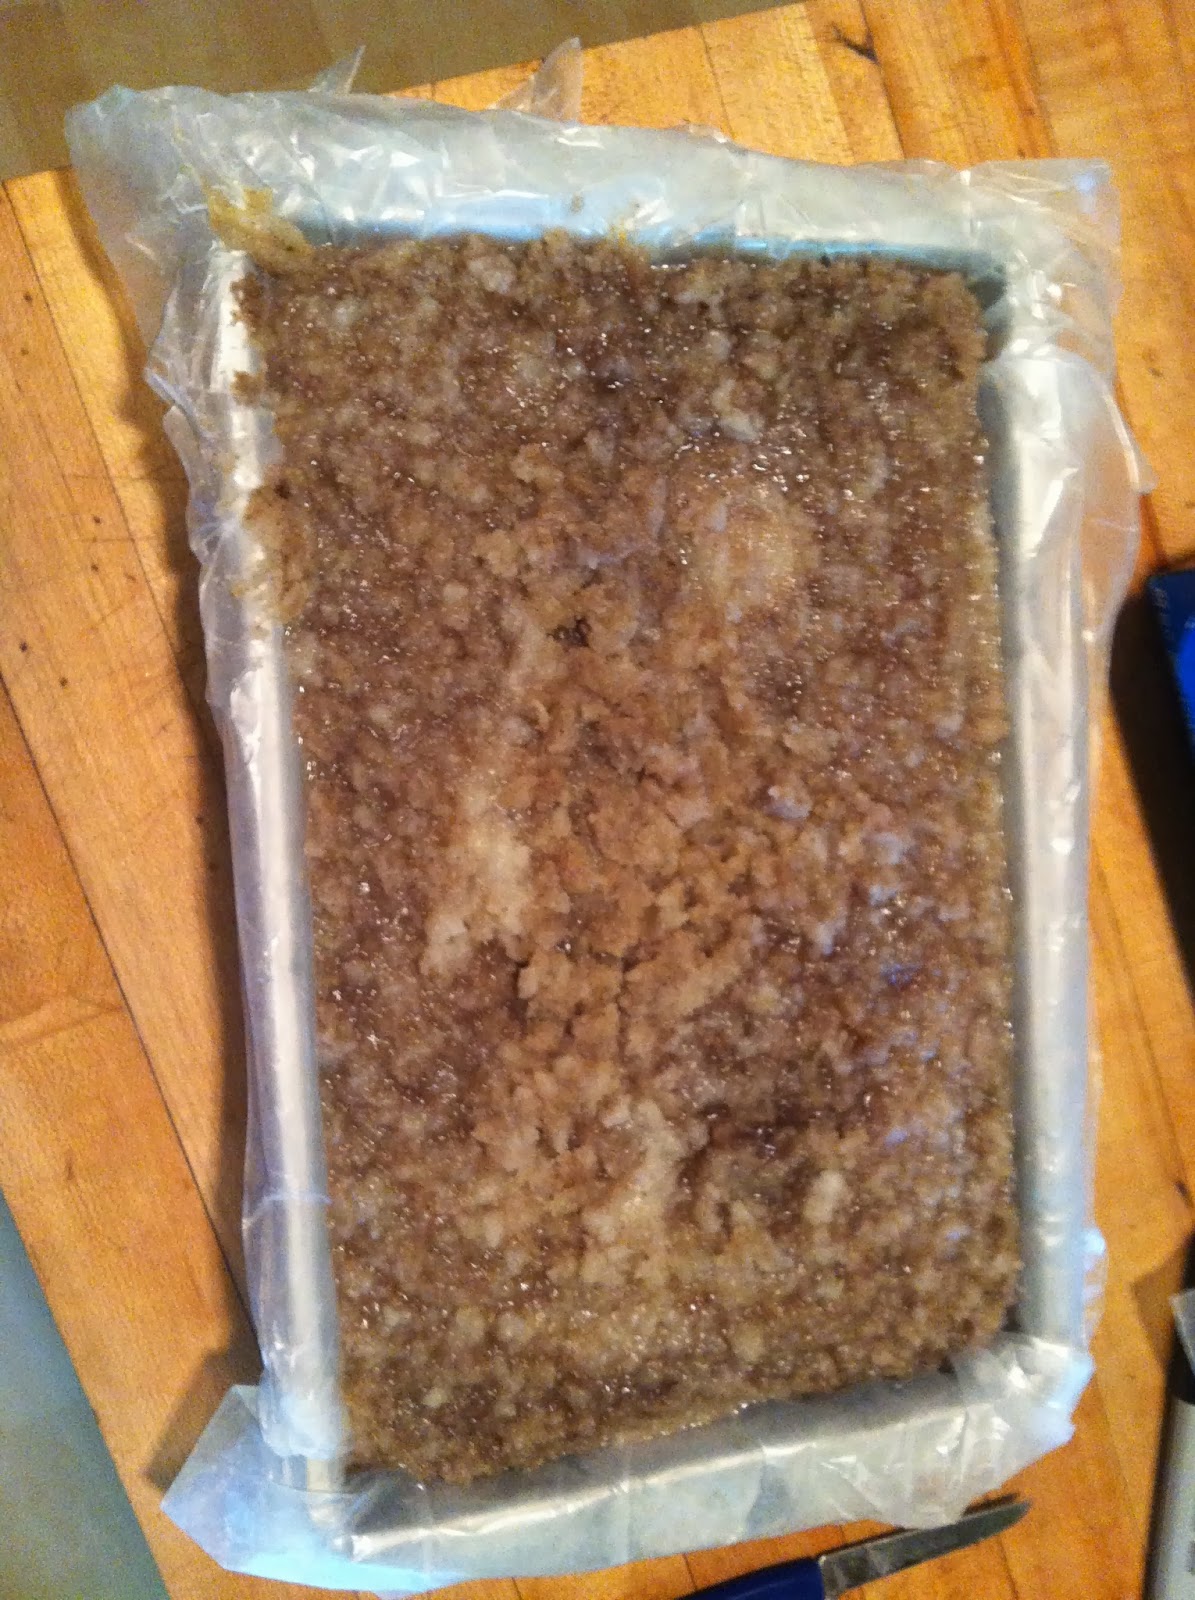
here is the raw soap in the mold. it is still bubbling so it looks rough on top
 here are 3 batches, at different levels of cooling (hence color differences)
 Once the soaps have cooled and set (for a few days), the pH will settle and you can cut into bars. If you do hot process soap like me, your soap can be used the same week it is made. With cold process, you'll have to let it sit about 6 weeks before it's safe for the skin.
“I stopped at a farmhouse to talk with a sunbonneted white woman who was making soft soap in the yard. She had a fire with a great black kettle over it and said she was ‘bilin’ the lye. It has to bile slow all the morning,’ she continued, ’till it’s very strong. Then I put in the fat I’ve saved — trimmin’s of meat sich as we don’t eat, pork rinds, and the cracklin’s that we have left when we are trying out lard. After the fat is in I have to stir it every little while with a paddle and be careful not to have too big a fire, or it will bile over. So it simmers along till four or five o’clock and is done; and when it’s stood to cool over night I dip it out into a flour barrel. If the soap is all right it’s thick like jelly, and I’d much rather have it than the soap you buy. What I make in this kittle will run me a year.” ~from Highways and Byways of the Mississippi Valley
~The Highland Wife
~The Highland Wife
No comments:
Post a Comment